Step 1 – Setup Yum Repository
First, you need to enable MySQL yum repository in your system provided by MySQL. Execute one of the below commands as per your operating system version.
Step 2 – Install MySQL Community Server
The MySQL yum repository contains multiple repositories configuration for multiple MySQL versions. So first disable all repositories in mysql repo file. Then execute one of the followings commands as per your operating system to install MySQL.
Step 3 – Start MySQL Service
Start the MySQL server using the following command from the Linux terminal. Using SysVinit Using Systemd
Step 4 – Find default root Password
With the installation of MySQL 8.0, a temporary password is created for the MySQL root user. You can find the temporary password generated in log files. Output:
Step 5 – MySQL Post Install Setup
After installing MySQL first time, execute mysql_secure_installation command to secure MySQL server. It will prompt for few question’s, we recommended to say yes ( y ) for each.
Step 6 – Restart and Enable MySQL Service
The MySQL installation has been successfully completed. Now restart the service and set up autostart on system bootup.
Step 7 – Working with MySQL
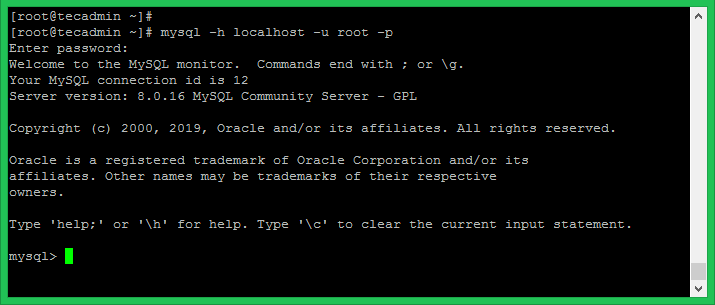
Now connect mysql database server Linux shell using below command. It will prompt for the password for authentication. On successful login, you will get the MySQL command prompt, where we can execute SQL queries.
After login, You can use the following commands to create a new database, create a user and assign privileges to the user on the database. Change values as per your requirements.
Congratulations! you have successfully installed MySQL server on your system. Use below quick links for basic MySQL tasks.
